
Engine Oil and Oil Filter Replace and Reinstall Guide are discussed in this article. For better performance of your vehicle, the engine oil needs to be changed or checked by the times. The timing of changing the engine oil depends on the engine size and power. So read the article:
What is Engine Oil and Oil Filter
An engine is a device that drives all the vehicles and runs the components. So, for better engine operation some kind of lubrication is needed to function all the rotating parts better inside the engine. So the engine oil is there to lubricate all the parts and this also helps to take away all the heat of the rotating parts. The engine oil itself plays a great role in the engine’s overall performance.
The oil filter is here to filter all the dirt parts and also helps to keep the rotating parts moving without any obstacles. When all the parts move at a speed and the heat is generated then the parts have little corrosion that comes down with the engine oil to the sump. So, this little particle needed to be removed for the better operation. For that reason, the engine oil filter is installed.
Engine Oil and Oil Filter Replace and Reinstall Guide
So the engine oil needed to be changed over time. You can read the manual or you should contact the manufacturer for the replacement time. Generally, it’s recommended to change the oil every 3,000 to 5,000 miles for conventional oil and every 7,500 to 10,000 miles for synthetic oil.
For better work, You need to have some equipment. These equipment are:
- New engine oil (check your owner’s manual for the recommended type and amount)
- New oil filter
- Oil filter wrench
- Socket set or wrench
- Oil drain pan
- Funnel
- Clean rags or paper towels
- Jack and jack stands or ramps (if needed)
- Gloves
- Safety glasses
Replacement Process of Engine Oil
Firstly park your vehicle on a flat surface where the level is ok. Then use a jack to lift the vehicle and make sure the jack is perfectly fitted to the vehicle body. Then start the vehicle and run it for some time, this will help to circulate the oil throughout all the parts. This also helps to drain all the oil at a time without any hesitations. Then turn off the vehicle and let it cool.
When the vehicle is cooled down then locate the drain nut. It is usually located under the enigne block. Place a bucket or pan under the nut and then use the socket wrench to remove the drain nut. The oil then forcibly goes directly to the pan and this will take time to get out all the oil from the engine.
Then clean the drain nut and reinstall it to the sump. Please make sure that the oil seal grommet is there on the nut and then fit it. Use the torque wrench or socket wrench to tighten the nut well, please make sure that the tightness of the nut is not too much. This is how you can drain the engine oil.
Replacement Process of Oil Filter
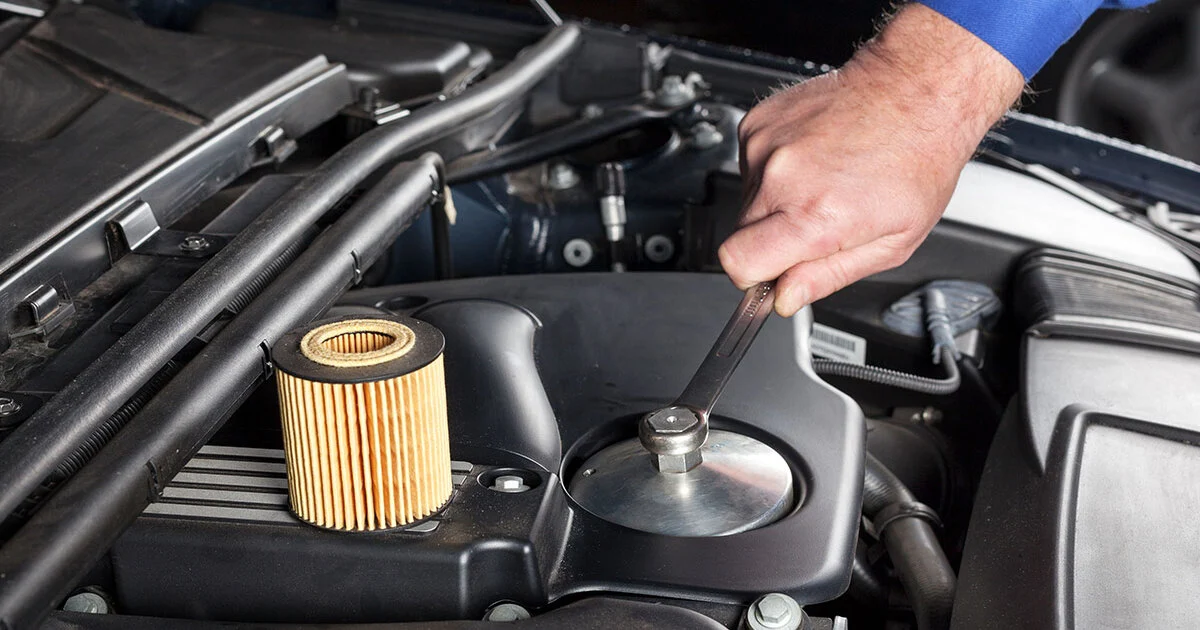
Locate the oil filter cap and the oil filter in the engine block. This oil filter can be located in some other place also, because of the engine design. Follow the user manual for better identification. After locating the oil filter then use the oil filter wrench and take the oil filter. An oil filter wrench is a special tool that helps to take off the oil filter from the engine block.
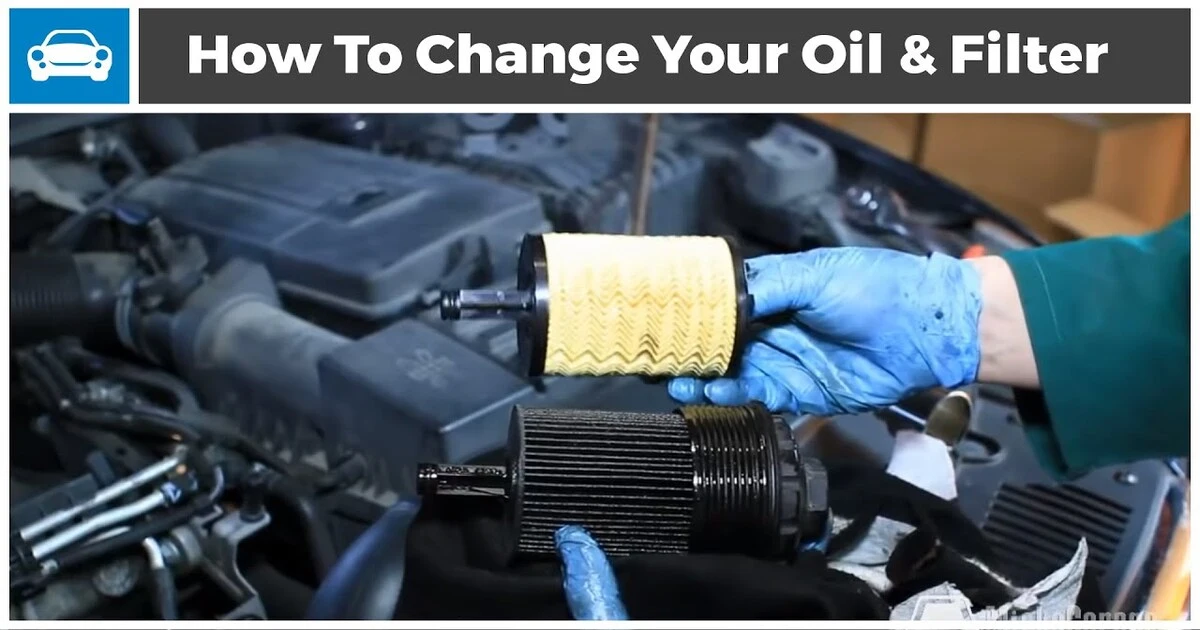
Place the same bucket under the engine oil filter and untie the oil filter to remove the oil filter. Once the filter is off, check to make sure the old rubber gasket is not stuck to the engine. If it is, remove it.
Installation Process of Oil Filter and Engine Oil
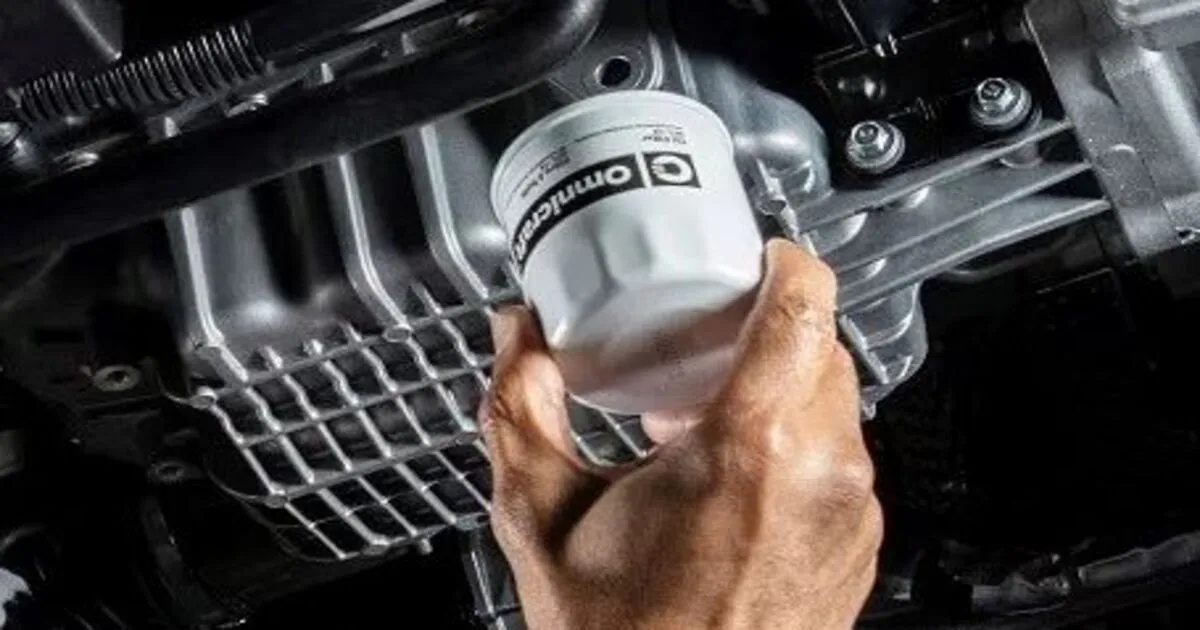
After successfully removing the oil filter and engine oil it’s time to reinstall the oil filter and pour the engine oil. Before installing the new oil filter, apply a small amount of new oil to the rubber gasket on the top of the filter. This helps create a good seal and makes it easier to remove during the next oil change.
Screw the new filter onto the engine by hand. Once the gasket makes contact, tighten the filter an additional three-quarters of a turn. Do not over-tighten. This will cause damage to the oil filter. Also, ensure that the correct oil filter wrench is used to tighten the engine oil filter. After successfully changing the oil filter it’s time to change the engine oil.
Now find the oil filler cap and pour the oil using a funnel. Please ensure the amount of engine oil. After adding the oil, use the dipstick to check the oil level. The oil should be between the “MIN” and “MAX” marks on the dipstick. If necessary, add more oil until it reaches the proper level.
After that tighten the oil cap and start the engine oil a couple of times. This will help you to ensure that all the oil is circulated throughout all the engine parts. Check for any leaks around the oil filter and drain plug. Then turn off the engine and wait a few minutes for the oil to settle. Use the dipstick to check the oil level one more time. Add more oil if necessary.
Yes, now you have successfully changed the engine oil and the oil filter. After completing all the steps it’s time now to dispose of all the engine oil and the oil filter. Because engine oil and the oil filter are hazardous materials.
Conclusion
Changing your engine oil and oil filter is a straightforward task that can save you money and ensure your vehicle runs smoothly. By following this guide, you can perform this maintenance task with confidence. Regular oil changes are an investment in the longevity and reliability of your car.
Note: Please make a note of every time you change the oil and the oil filter. Also, clean the air filter all the time you change the oil. This will help to keep the fuel consumption rate of your vehicle.